
Bay windows aren’t just architectural features, they’re opportunities. That angled bump-out adds square footage, floods rooms with light, and creates natural focal points that flat walls can’t match. But too many homeowners let them sit empty or clutter them with forgotten houseplants. A well-designed bay window can anchor a living room layout, provide functional space, and boost a home’s curb appeal from both inside and out. This guide walks through practical, stylish ways to make the most of bay window real estate, from built-in seating to layered window treatments that actually work.
Table of Contents
ToggleKey Takeaways
- Bay window living room ideas center on maximizing the architectural feature’s natural light and usable space by treating it as a functional anchor rather than an afterthought.
- A cushioned reading nook requires at least 20 inches of bay window depth and benefits from swing-arm wall sconces positioned 40–48 inches above the seat to avoid reading glare.
- Layered window treatments using individual rods on each bay section—such as cellular shades or plantation shutters—provide both light control and insulation without sagging.
- Strategic furniture placement like symmetrical armchairs flanking the center window or a low-profile bench maintains sightlines and natural light flow in living room layouts.
- Bay window plant sanctuaries thrive when grouped by light exposure and watering needs, with south-facing bays suited for succulents and tropicals, while north-facing spaces work best for low-light plants like ZZ plants.
- Proper measurement and scale are essential: leave 12–18 inches of floor space around rugs and maintain 24-inch minimum pathways to prevent cramped, cluttered bay window designs.
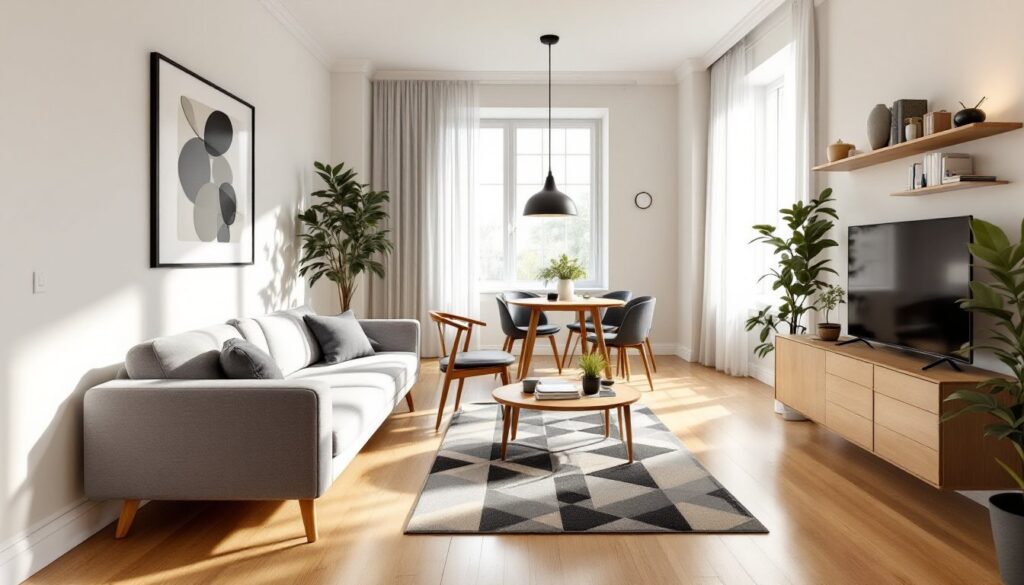
Why Bay Windows Are a Living Room Game-Changer
Bay windows typically extend 18 to 24 inches beyond the exterior wall, creating usable interior space without adding a full room addition. That projection matters. It breaks up boxy room shapes, adds architectural interest, and increases natural light intake by roughly 30% compared to a single flat window of the same width.
From a design standpoint, bay windows create three distinct zones: the two angled side windows and the center panel. This naturally suggests symmetry and balance, making furniture arrangement more intuitive. The window sill, often 24 to 30 inches deep, becomes functional surface area that doesn’t eat into floor space.
Structurally, most bays are supported by knee braces or cantilevered joists, not load-bearing walls. That means homeowners can often modify the interior space (like adding a bench or removing trim) without permits, though any structural changes require professional assessment. Always verify local building codes before cutting into framing or altering support points.
The light quality differs too. Angled glass catches morning and afternoon sun that straight windows miss, reducing the need for artificial lighting during peak hours. That translates to lower energy costs and better color rendering for fabrics and finishes.
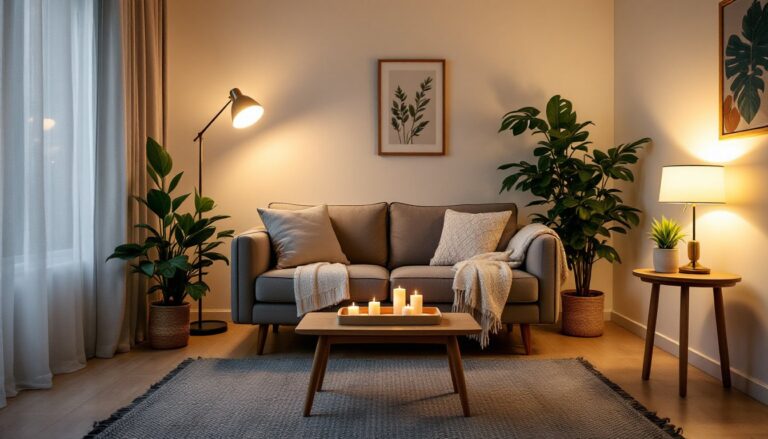
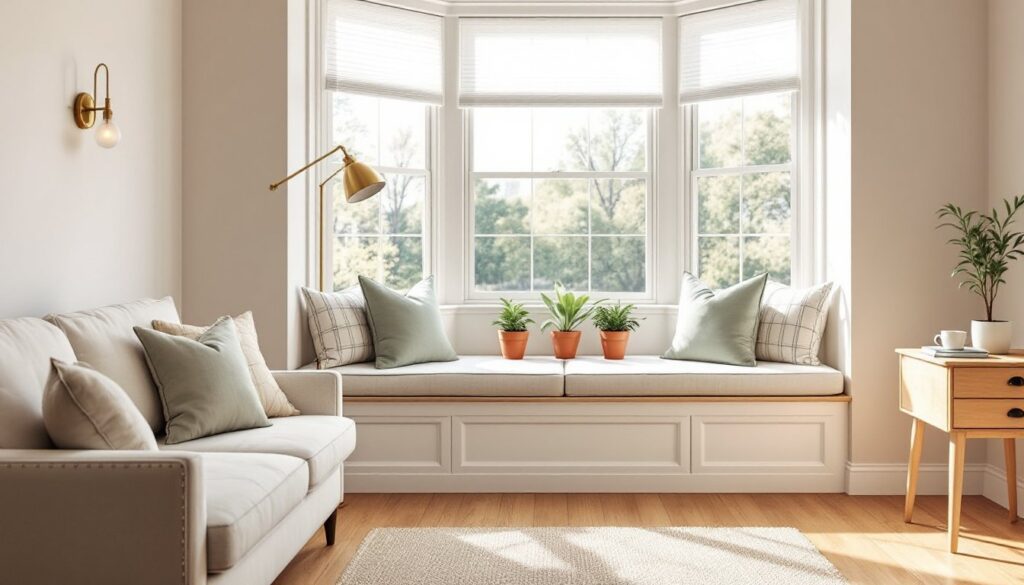
Create a Cozy Reading Nook in Your Bay Window
A reading nook works best when the bay window depth hits at least 20 inches, enough for a cushioned bench or narrow daybed. The build can go two ways: built-in or freestanding.
For a built-in bench, frame a box using 2×4 studs at 16-inch centers if it needs to support adult weight consistently. Top it with ¾-inch plywood or solid wood planking. Hinge the top for hidden storage underneath, perfect for throw blankets and extra pillows. Finish with 2- to 4-inch foam cushions wrapped in durable upholstery fabric. Indoor/outdoor fabric holds up better to sun exposure.
Freestanding options include low-profile storage benches or a small loveseat angled to face the room. Measure the bay opening corner to corner before shopping: most standard furniture won’t fit angled spaces without custom cutting or creative placement.
Lighting matters. Install a swing-arm wall sconce on one of the side walls, positioned 40 to 48 inches above the seat for reading without glare. If wiring isn’t an option, battery-powered LED puck lights stick to the underside of upper shelving.
Add a small side table or floating shelf within arm’s reach, 12 to 16 inches wide is enough for a coffee mug and a book. Skip bulky floor lamps: they crowd the space and block sightlines.
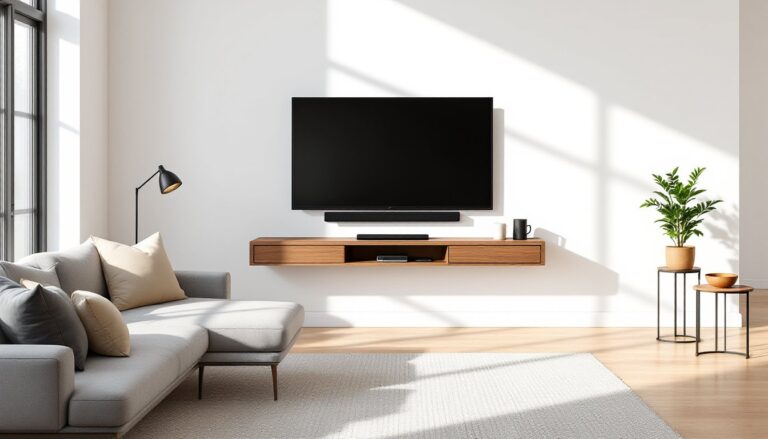
Turn Your Bay Window into a Statement Seating Area
When a bay window anchors a living room conversation area, treat it like a fourth wall. Position a sofa or sectional facing the bay, using the window alcove for accent chairs, a small settee, or ottomans.
Symmetry works here. Flank the center window with matching armchairs angled inward. This creates a natural conversation circle and draws the eye to the window as the room’s focal point. Keep seat heights consistent, 16 to 18 inches is standard for chairs and sofas, so sightlines stay level.
If the living room is narrow, avoid blocking the bay with tall furniture. Instead, use a backless bench or a pair of low-slung slipper chairs that don’t interrupt the flow of light. These typically sit 14 to 16 inches high and maintain openness.
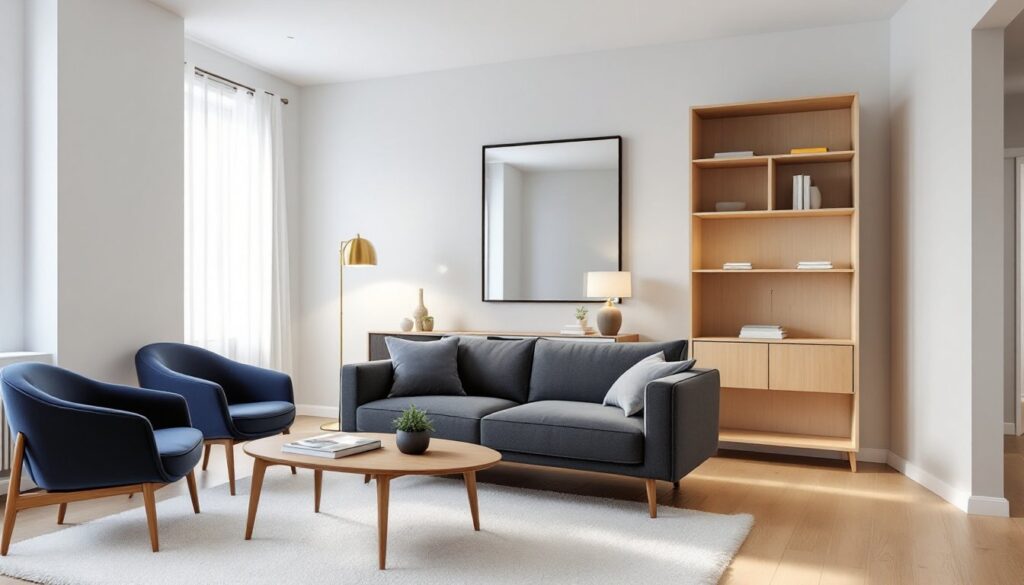
For modern layouts, a single sculptural chair or chaise positioned at an angle can break up symmetry without looking cluttered. Pair it with a narrow console table behind the seating to define the zone and provide surface area for lamps or decor.
Rug placement ties it together. Extend an area rug from the main seating area into the bay alcove, or use a smaller accent rug to define the bay as a distinct zone. Leave 12 to 18 inches of floor exposed around the rug edges to avoid a cramped look.
Maximize Natural Light with Strategic Window Treatments
Bay windows need layered treatments that account for three separate angles. Continuous curtain rods that bend at each corner work for lightweight sheers but sag under heavier drapes. For lined or thermal curtains, use individual rods on each window section with return brackets to pull fabric tight.
Cellular shades (honeycomb shades) mount inside each window frame and provide insulation without blocking light when raised. Top-down/bottom-up models let homeowners lower the top for privacy while keeping the lower half open. Typical bay windows have three separate shades, one per section, operated independently.
For a cleaner look, plantation shutters custom-fit to each angled panel fold back completely and offer adjustable louvers for light control. They’re pricey, expect $25 to $45 per square foot installed, but they last decades and don’t require laundering.
Avoid heavy valances or swags that cut into the window height. Bay windows are already visually busy: adding layers of fabric at the top makes them feel crowded. If a valance is non-negotiable, keep it shallow, 6 to 8 inches max, and mount it just below the ceiling to add height.
Sheer panels layered behind heavier drapes give flexibility. Pull the sheers during the day for diffused light and privacy, then close the outer layer at night. Use double curtain rod brackets spaced 2 to 3 inches apart to avoid bunching.
Design a Bay Window Plant Sanctuary
Deep window sills (anything over 10 inches) can handle potted plants without additional support. For sills under that depth or when stacking multiple plants, add a custom wood shelf or tiered plant stand.
Build a simple plant shelf using 1×10 or 1×12 pine boards cut to fit the bay opening. Support longer spans (over 36 inches) with L-brackets every 24 inches to prevent sagging under the weight of soil and water. Seal the wood with polyurethane to protect against moisture.
Light exposure dictates plant selection. South-facing bays get full sun, 6+ hours daily, suitable for succulents, citrus trees, and flowering tropicals. East or west exposures offer partial sun: try pothos, ferns, or snake plants. North-facing bays suit low-light tolerant species like ZZ plants or philodendrons.
Rotate pots every two weeks to prevent one-sided growth. Group plants with similar water needs together to streamline care. Use saucers under every pot to catch drainage and protect surfaces from water rings.
For high-humidity plants like ferns or orchids, a pebble tray raises pots above standing water and increases ambient moisture. Fill a shallow tray with stones, add water to just below the stone tops, and set pots on top.
Avoid overcrowding. Leave space between pots for airflow to reduce fungal issues. If plants outgrow the sill, hang trailing varieties from ceiling hooks in front of the window or use tall plant stands flanking the bay.
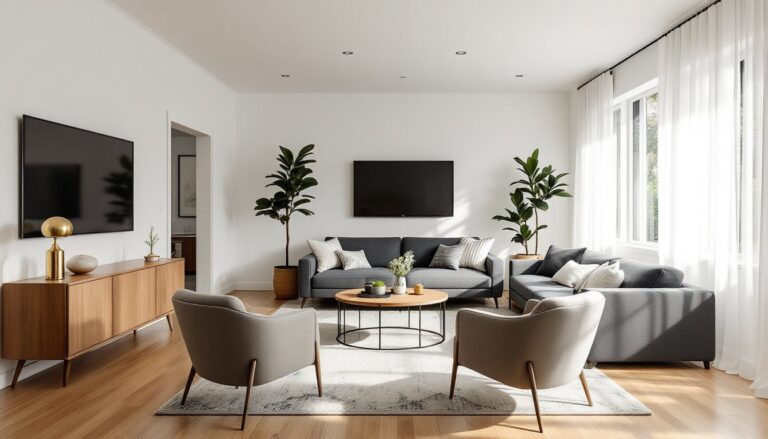
Style Your Bay Window for Different Living Room Layouts
Open-concept spaces: Treat the bay as a room divider. Position a sofa with its back to the bay, using the alcove for a console table or a pair of chairs that face into the kitchen or dining area. This creates separation without walls.
Small living rooms (under 200 sq ft): Skip bulky furniture in the bay. Use the space for lightweight accent pieces, a single armchair, a narrow bookshelf, or a tall plant stand. Keep pathways at least 24 inches wide to avoid a cramped feel.
Formal living rooms: Go symmetrical. Matching sofas flanking the bay with a central coffee table create balance. Add table lamps on side tables at each end for evening lighting. Layer window treatments, sheers plus drapes, to add formality.
Multi-purpose rooms (living/office combo): Tuck a small writing desk into the bay alcove. The natural light reduces eye strain, and the defined space separates work from relaxation zones. Wall-mount a task light or use a desk lamp with an adjustable arm.
Family rooms with kids or pets: Durability first. Use performance fabrics (solution-dyed acrylic or polyester blends) that resist stains and fading. Skip delicate window treatments that won’t survive sticky fingers. Cordless blinds or motorized shades eliminate strangulation hazards.
Minimalist spaces: Let the bay window be the statement. Keep furniture minimal, maybe a single sculptural chair or a low bench with clean lines. Use simple roller shades or no treatments at all if privacy isn’t an issue.
Conclusion
Bay windows deliver functional square footage and design flexibility that flat walls can’t match. Whether it’s a reading nook, a plant wall, or extra seating, the key is treating the space as intentional, not an afterthought. Measure carefully, account for light and traffic flow, and choose furnishings scaled to the alcove’s actual dimensions. Done right, a bay window becomes the anchor that pulls the whole living room together.