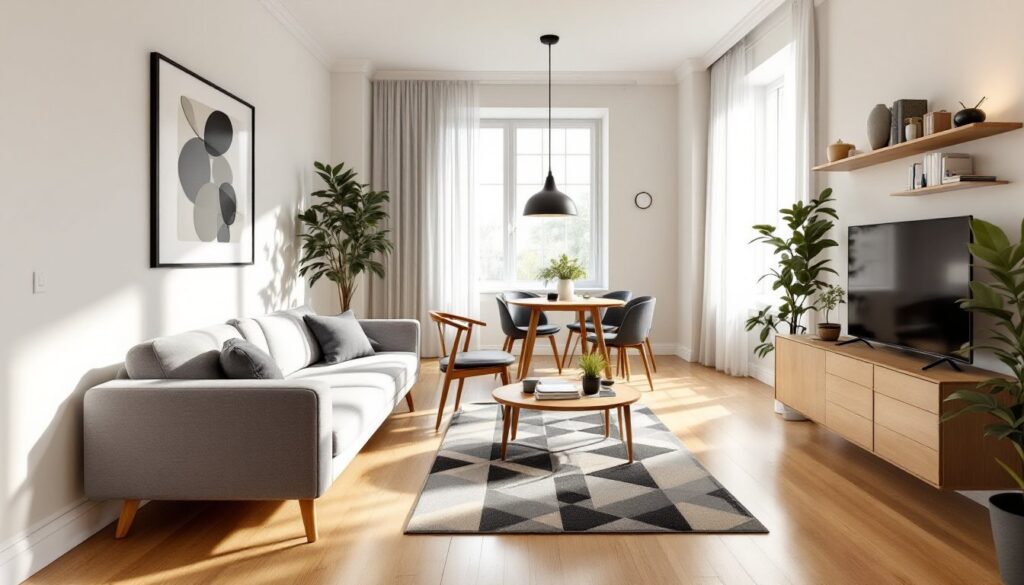

Three windows in a living room can flood the space with natural light, or create a decorating puzzle. The wrong approach makes the room feel choppy, with each window competing for attention. The right curtain strategy ties everything together, controls light without blocking it completely, and makes the room feel intentional instead of improvised. Whether the windows are evenly spaced on one wall, scattered across corners, or flanking a focal point like a fireplace, the curtain treatment sets the tone for the entire room. These three ideas offer practical solutions for different layouts, budgets, and skill levels, no interior designer required.
Table of Contents
ToggleKey Takeaways
- Three-window living room curtain ideas require a strategic approach to spacing, hardware placement, and light control to make the room feel intentional rather than choppy.
- Unified floor-to-ceiling curtains work best when all three windows are on the same wall with minimal spacing, using a single heavy-duty rod and linen or linen-blend fabrics for a seamless, cohesive look.
- Layered treatments combining sheer and blackout panels offer independent light and privacy control, making them ideal for living rooms that shift between day and night use.
- Individual statement curtains for each window require consistent mounting heights and unified hardware finishes, allowing flexibility for asymmetrical layouts while maintaining visual balance.
- Successful window treatment coordination requires choosing a unifying element—whether color, texture, or pattern scale—rather than treating each window identically or randomly.
- Proper installation details like mounting rods 4-6 inches above window frames and using a laser level for consistent heights are critical to achieving a polished result across all three windows.
Why Three-Window Living Rooms Need a Strategic Curtain Approach
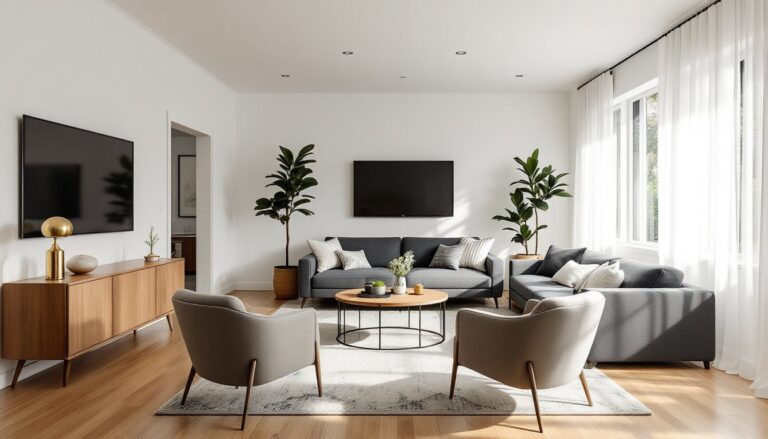
Three windows create visual complexity that one or two don’t. If they’re aligned on the same wall, the challenge is continuity, making them read as a unified feature rather than three separate holes. If they’re on different walls, the goal shifts to balance and rhythm, so the room doesn’t feel lopsided.
Window spacing dictates hardware placement. Windows less than 12 inches apart can often share a single curtain rod that spans all three, simplifying installation and creating a gallery effect. Windows separated by 24 inches or more usually need individual rods, which means coordinating rod diameter, finial style, and mounting height across all three.
Proportion matters. Standard curtain panels are 84, 96, or 108 inches long. For a polished look, panels should either just kiss the floor or puddle slightly (about 1-2 inches of fabric on the floor). Hanging curtain rods 4-6 inches above the window frame and extending them 3-6 inches beyond each side makes windows appear larger and allows panels to stack off the glass when open, maximizing light.
Light control varies by window. A south-facing window floods the room mid-day: an east-facing one catches morning glare. If all three windows get the same treatment but different light exposure, the room can feel unbalanced. Mixing opacities or layering treatments compensates for this.
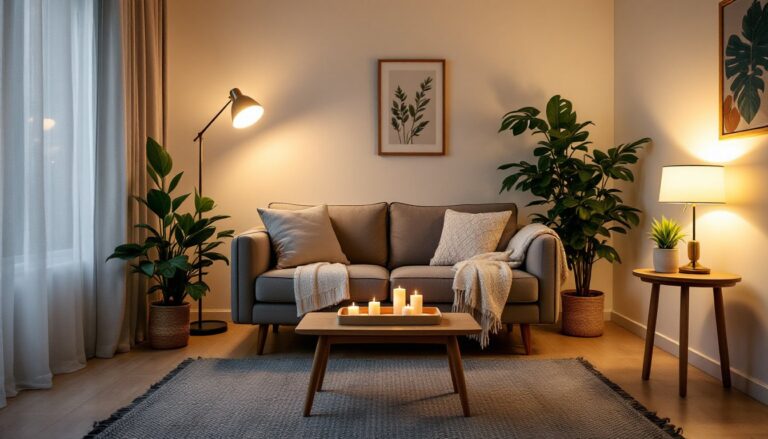
Finally, three-window rooms often double as multi-use spaces, TV watching, reading, entertaining. Curtains need to adapt. Fixed panels look great but don’t function. Functional panels need enough stack-back space so they don’t block the window when open.
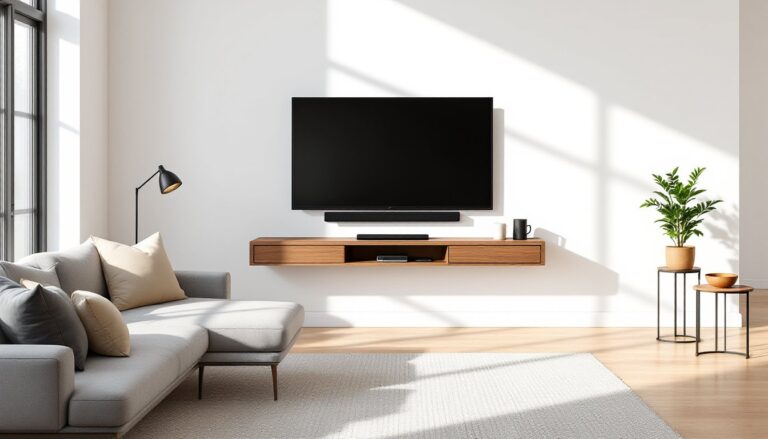
Idea 1: Unified Floor-to-Ceiling Curtains for a Seamless Look
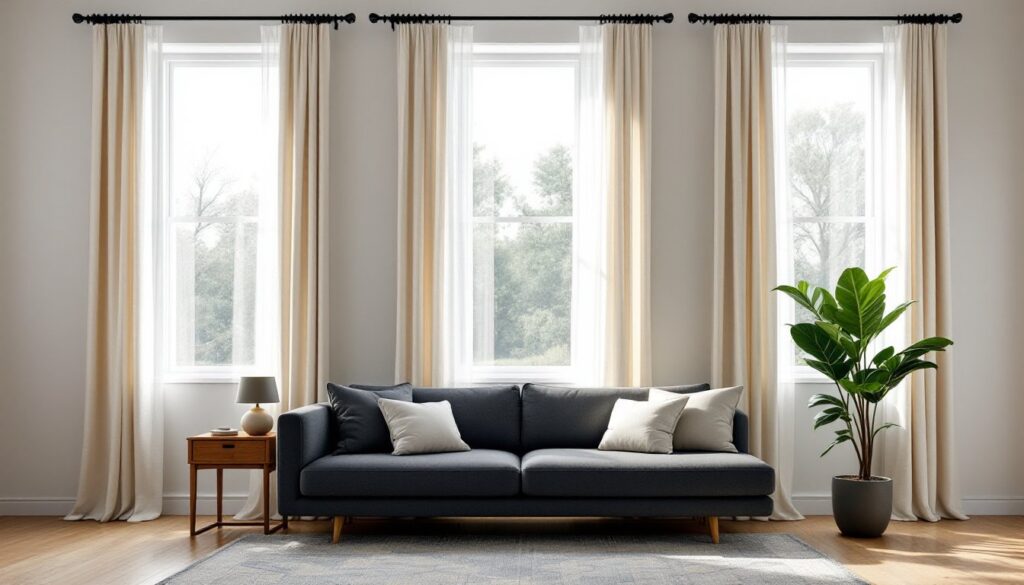
This approach works best when all three windows sit on the same wall with minimal spacing. Instead of treating each window separately, a single continuous curtain rod spans the entire wall, and panels hang as one uninterrupted curtain wall. The result: the windows disappear into a larger architectural feature, and the room feels taller and more cohesive.
Hardware requirements: Use a heavy-duty traverse rod or a 1½-inch diameter decorative rod with center support brackets every 48-60 inches to prevent sagging. For walls 12-16 feet wide, that usually means at least one center bracket. Wall anchors or mounting into wall studs (16 inches on center in most homes) are non-negotiable, fabric and hardware for this much coverage add up to serious weight.
Panel count: Plan for enough panels to create fullness when closed. A good rule is 1.5 to 2 times the rod width in total fabric. For a 14-foot rod, that’s 21-28 feet of fabric, or roughly 10-14 standard 50-inch-wide panels. Skimping here makes the curtains look limp.
Installation tip: Mount the rod as close to the ceiling as possible, ideally 2-4 inches below the ceiling line or crown molding. This draws the eye up and makes 8-foot ceilings feel taller. Use a laser level to mark the rod height consistently across the wall: even a ½-inch dip is visible once the curtains are hung.
This setup is ideal for modern or minimalist spaces where simplicity and flow matter more than individual window character. It also works well in rentals or budget projects, since one long rod costs less than three separate sets of hardware.
Choosing the Right Fabric and Color
Linen and linen-blend fabrics are the go-to for this treatment. They drape well, diffuse light without going full blackout, and add texture without pattern competition. Cotton canvas works for a crisper look but wrinkles easily. Avoid anything too stiff, polyester taffeta or heavy brocade, which will hang like cardboard.
Color strategy: Light neutrals (ivory, warm white, soft gray) reflect light and keep the room airy. Darker tones (charcoal, navy, forest green) add drama but absorb light, making the room feel smaller. In south- or west-facing rooms with intense afternoon sun, medium tones strike a balance.
Opacity matters. Sheer or semi-sheer panels filter light and preserve the view but offer zero privacy at night unless layered. Room-darkening (not blackout) linen blends block about 80-90% of light, enough for glare control without turning the room into a cave. True blackout panels have rubberized or foam backing, they’re functional but visually heavy for a unified wall treatment.
If the living room opens to a bright backyard or faces a busy street, consider interlined curtains, two layers of fabric sewn together with a layer of cotton interlining between them. This adds body, insulation, and light control without the plasticky look of blackout fabric.
Idea 2: Layered Treatments with Sheer and Blackout Combinations
Layering lets the homeowner control light and privacy independently. Sheer panels hang closest to the glass (or on an inside-mount rod), filtering daylight and softening the view. Heavier drapes, room-darkening or blackout, hang on a second rod in front, pulled open during the day and closed for privacy, glare control, or movie watching.
This approach works for three windows on one wall or scattered across the room. Each window gets a double rod bracket or two separate rods mounted at the same height. If the windows are different sizes, matching rod lengths (extending equally past each frame) keeps the look balanced.
Rod spacing: Leave 1-2 inches minimum between the sheer rod and the outer rod so the panels glide without snagging. For inside-mount sheers, measure the window recess width and use a tension rod or slim ¾-inch rod with minimal clearance.
Sheer fabric choices: Linen sheers, voile, and gauze fabrics in white or soft neutrals diffuse light evenly. Polyester sheers resist fading from UV exposure better than natural fibers and are easier to wash. For energy efficiency, some homeowners use solar shades as the inner layer instead of fabric sheers, these block UV and heat while maintaining outward visibility during the day.
Outer layer: Go heavier here. Velvet, heavyweight linen, or thermal-backed cotton panels add richness and function. If all three windows face the same direction, identical outer panels keep it simple. If light exposure varies (say, one window faces east, two face south), consider making the outer panels on the brightest window a denser weave or darker color.
Hardware tip: Use adjustable double-rod brackets that let you tweak spacing after installation. Cheaper fixed-spacing sets often put the rods too close together, causing the fabric to bunch.
操作 considerations: Pulling two sets of curtains open and closed daily is tedious. Install the sheer layer on a traverse rod with a cord or wand, or leave sheers stationary (attached at both ends for a gathered look). Reserve the outer drapes for true open-close function.
Layering costs more upfront, double the fabric, double the rods, but offers the most flexibility. It’s the best option for living rooms that shift between day and night use or for homes with kids or shift workers who need blackout capability on demand.
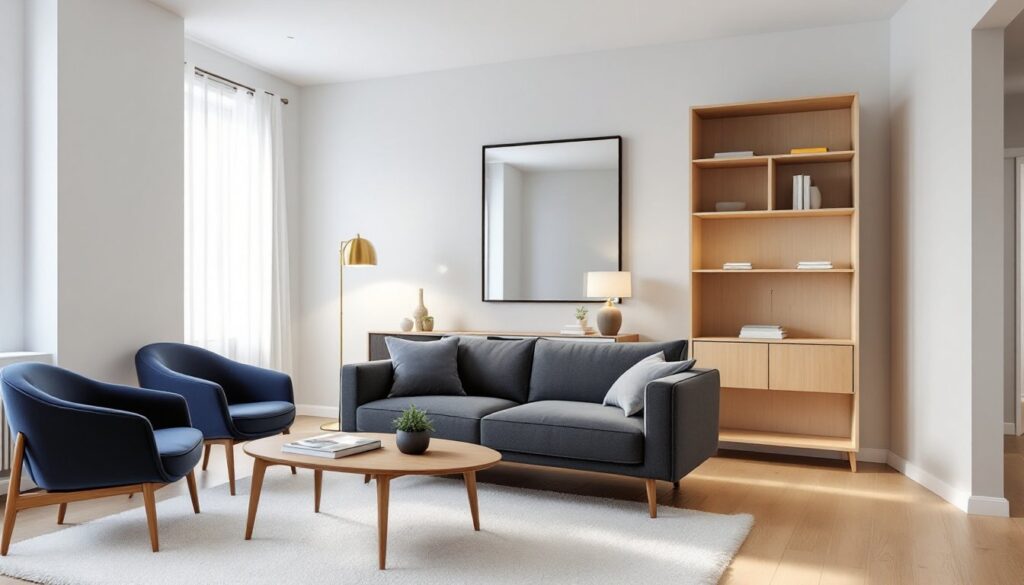
Idea 3: Individual Statement Curtains for Each Window
When the three windows aren’t identical, different sizes, different walls, or asymmetrical placement, individual treatments let each window shine without forcing uniformity. This approach also works in eclectic or traditional spaces where variety adds character instead of chaos.
Mounting strategy: Each window gets its own rod, mounted at the same height throughout the room (typically 4-6 inches above the frame). Consistent mounting height is critical: use a laser level or mark a level line around the room before installing any hardware. Inconsistent heights make the room look slapped together.
Rod style: Stick to one rod finish and diameter (e.g., all matte black 1-inch rods, or all brushed nickel 1⅜-inch). Finials can vary slightly if the overall rod is uniform, but mixing metal finishes (bronze on one window, chrome on another) rarely works outside of highly styled spaces.
Panel length and width: Even if the windows differ in width, using the same panel length (all 96-inch, for instance) keeps the room grounded. Let the number of panels per window vary, one panel each for narrow windows, two panels for wider ones. This maintains proportion without custom ordering.
Color and pattern coordination: Choose a unifying element, a shared color, a repeated texture, or a common fabric weight. For example, one window might have navy linen, another a navy-and-cream stripe, and the third a textured cream weave. All three share navy and cream but avoid looking matchy.
Functionality: Not all three windows need operable curtains. Fixed panels (attached with clip rings but never drawn) work for windows behind furniture or in corners with limited access. Reserve working curtains for windows where light control or privacy matters.
This idea requires more planning than the unified approach, but it’s the most forgiving for odd layouts and the easiest to DIY in stages, dress one window at a time as budget allows.
Mixing Patterns and Textures Without Overwhelming the Space
The key to mixing successfully: vary one element, hold the others constant.
Option 1: Same color, different textures. Three windows in ivory, but one’s a linen blend, one’s a cotton waffle weave, and one’s a subtle damask. The color reads as unified, but the textures add depth.
Option 2: Same pattern scale, different motifs. A small-scale stripe, a small-scale geometric, and a small-scale floral all in coordinating colors. Avoid pairing a bold oversized print with a tiny ditsy, scale mismatch creates visual noise.
Option 3: Solid + pattern + texture. One window gets a solid, one gets a patterned panel from the same color family, one gets a textured neutral that bridges both. This is the safest mix for beginners.
What to avoid: More than two bold patterns in one room. High contrast (bright white next to deep black) unless the room is large and minimally furnished. Mixing warm and cool tones without a neutral bridge (e.g., rust orange next to icy blue with nothing in between).
Test before committing. Order fabric samples (most online retailers offer swatches for a few dollars) and pin them near each window in natural light. What works in a photo might clash in the actual space. Live with the samples for a few days, checking them in morning and evening light before ordering full panels.
Conclusion
Three-window living rooms offer more light and architectural interest than single-window setups, but only if the curtain treatment pulls the space together instead of fragmenting it. Whether going unified, layered, or individual, the key is consistent mounting height, proportional fabric coverage, and a clear plan for light control. Measure twice, mount into studs, and don’t skip the laser level, details separate a polished result from a DIY regret.